Recycling shipping pallets is the easiest way to get amazing home décor, art, and furniture. However, before you can create all the amazing stuffs, you need to disassemble them first!
These pallets are designed for shipping industry. So, it is not a surprise when they come with strength. These pallets are not only sturdily assembled, but also difficult to dismantle. Spiral nail inserted to all joints using high-pressured air. These nails are the real problem, but fear not because with a little energy, patience, your own hands, and tips from me, you can take rid of these nails without any problem at all, especially without tearing the whole part!
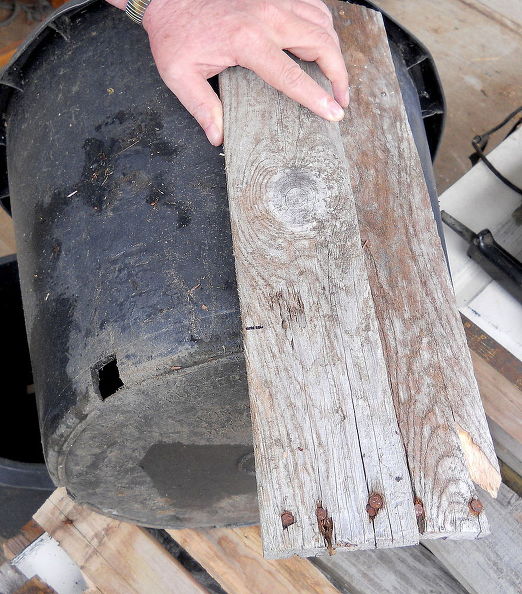
Stringers and slats are two main parts of your pallets. Slats are the upper pieces that are connected to the stringers, as the bottom pieces, with nails on both the centers and ends. Shipping industry uses different pallets to carry different objects with different specifications. They not only come with different materials, but also size of both slats and stringers. All depends on the object it carries.
Now, some people may think thing I am going to tell you is not important, but still I believe you need to know it before you can dismantle your wooden shipping pallet. It is about the age of your pallet. The older the age is, the easier you can remove the nails.
Now, before we begin disassembling your wood pallet, we must eliminate any safety risk first. Take a look at the wood roughness and how splintery it may become. So, unless you don’t concern on your own safety, start wearing safety glasses and work gloves.
Don’t forget to wear safety glasses!
Work gloves are mandatory whenever you work with wood pallets, unless you’re a fan of splinters.
This job also requires hammer and pry bar. So, don’t forget them
Disassembling your shipping wooden pallet
1. Loosen the nails.
Loosen nails will help you easily pull them out. Start with one slat (see image below). Use the pry bar to separate the slat from the stringer until you have pulled some part of the nails. Use the hammer if you cannot get the pry bar between the slat and stringer properly.
2. Repeat the same action with the remaining center and end part of the slat (see image below) until you free the slate. Flip over the slate to remove any remaining nail and take the reverse side to hammer them. Finish with flipping back the slat and use the pry bar to remove any remaining nail.
3. Repeat the process until all slats have been disassembled with the stringers. You’re done! Just remember to do each process carefully, especially when loosening the nails. If you do it too quickly, the pallet may be cracked.
That’s all you need to disassemble your wooden pallet. Your job now is to gather any unique idea to make something unique from this pallet.
As conclusion of this post, I need to give you some advice. Some pallets do not entirely come with natural treatment. Some of them come with chemical treatment which may become hazardous to your health. Try not to use these pallets because before they were used to carry any goods, they were treated with either heat or chemical. For this particular project, my recommendation would be HT-marked wooden pallets. These pallets were treated, just like the previous pallets. The only difference is the treatment does not involve any chemical substance. They were treated with heat and dried in a kiln.
For your own health, I must remind you that all pallets are also possible host for any insect, mold, bacteria, and other micro-organism. We never know the origin of these pallets and where they used to be until it arrived at your place. Something dangerous or hazardous may touched the pallets, such as pesticide. Remember these things when you consider using pallets on your next DIY project.


")
 Once you finish that step, the inside of your container will look more like something Hannibal would create. To make this safe, use pliars and bend the nails inward.


 2 | Pop, Lock and Drop It
 4 | It’s Just A Keyboard…What??
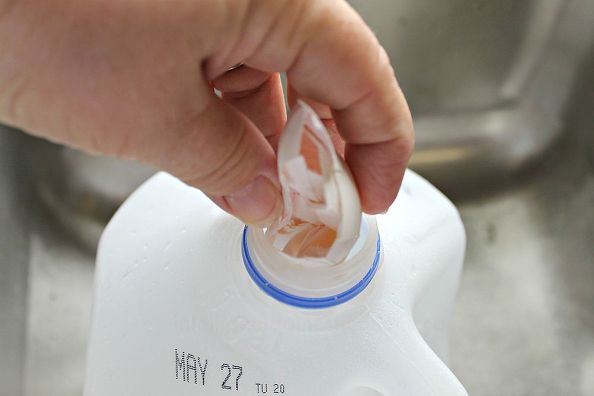
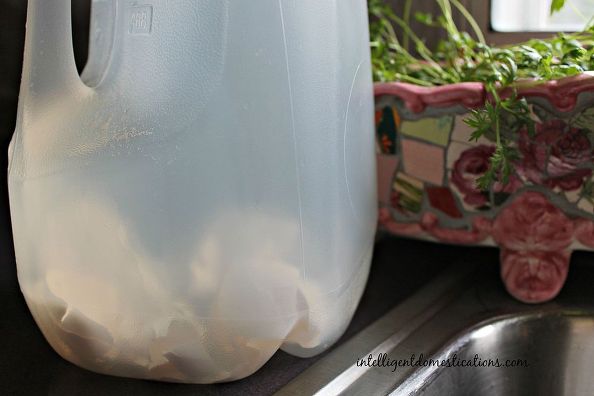
 5 | For All Your Soap Hiding Pleasure
 7 | Good For Hiding Blankets, Pillows, and Bodies! (kidding, of course)
 8 | To Hide Your Tupperware Party Binge Problem
 9 | Now We’re Talking!
 10 | The Millennium Falcon Used These For Smuggling
 11 | Chilled, Please
 12 | Sorry. Degas, not Monet
 13 | Taking Storage A Step Further
 14 | Watch What It Does Now!
 15 | Just Hanging Around
 16 | Lightning McQueen Would Be So Proud
 17 | I Want That Oscar Meyer Shirt Now
 18 | So That’s Where The Remote Is!
 19 | Damn. I Already Used My Stair Pun
 20 | I’m Checking Every Plug Everywhere
 21 | Anyone Else See The Irony Here?
 22 | Not Touching This One
 23 | That’s A Lot Of Leather
 24 | Really? More Stairs?
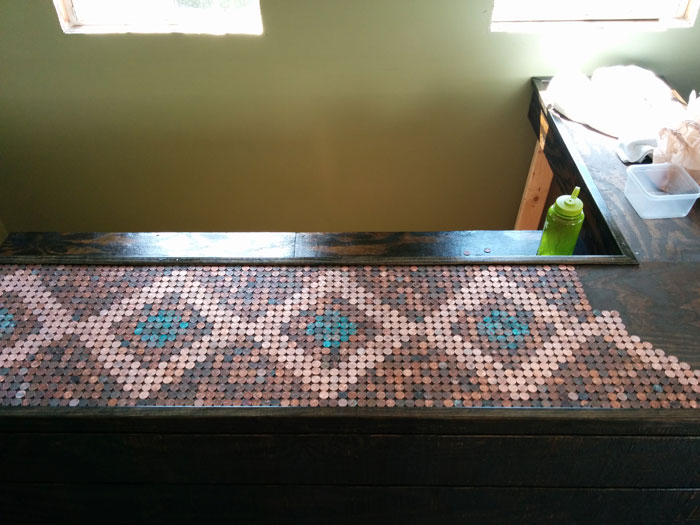
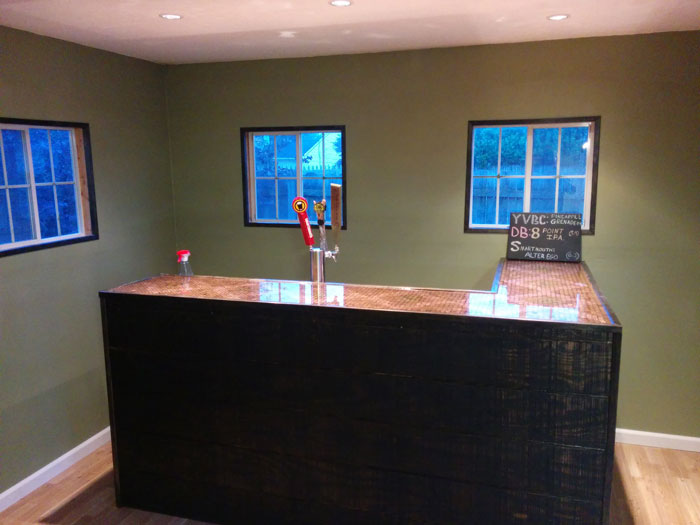
 25 | If There’s Not Beer In There I Quit


